A tea cosy is a small thing to make or buy, and a surprisingly easy one to get wrong. Too loose and it rides up, leaving a gap at the rim where heat escapes fastest. Too tight and every refill turns into a wrestling match — or the cosy grabs the lid and flings it across the table. Neither problem is really about the pattern. Both come down to measuring.
Getting it right takes five minutes and a soft tape measure. You need three numbers: the circumference of the pot's body, the height from the table to the top, and the position of the spout and handle. Add a little room for fabric thickness and shrinkage, and almost any cosy will sit the way it should.
Before you measure: know what you're measuring
Work with an empty teapot on a flat surface, lid on. Use a dressmaker's tape — the stiff metal kind bridges the curve of a pot and gives you a number that's too small. No tape? Wrap string around the pot, mark where it meets, then lay the string against a ruler. Pick centimetres or inches and stick to one; mixing them is how a cosy ends up two sizes off.
Then decide which style you're measuring for. A wrap cosy covers the whole pot and has openings for the spout and handle. A cap cosy sits over the top like a hat, with a gap for the knob. Both need circumference and height, but the wrap style also needs the openings placed accurately, and the cap style needs the knob's diameter.
Measuring the circumference
- Find the widest point. Hold the tape vertically against the side of the pot and look for where the body bulges most. On a round pot that's usually around the belly, a third of the way up. On a squat pot it can be much closer to the base.
- Wrap the tape around that level. Keep it parallel to the table, snug but not compressing the pot. Read the number where the tape crosses itself.
- Repeat just above and just below. Take the largest of the three readings. Pot walls swell unevenly, and the widest number is the one the cosy has to clear.
- Handle odd shapes carefully. For an oval, square or hexagonal pot, let the tape lie flat against each face rather than cutting across the corners.
- Add ease. This is the extra room that stops the cosy straining at the seam.
How much ease depends on the material. Knitted and crocheted cosies stretch, so the measured circumference is often enough on its own. Woven, quilted or felted cosies have almost no give and need roughly 2–4 cm (about 1–1½ inches) more than the widest measurement — a little more if the fabric is thick or you're adding a lining. Pre-wash anything that might shrink before you cut into it.
One warning: don't measure around the handle and spout. On a pot with a side handle and a spout opposite, that number is far larger than the body, and a cosy cut to it will hang like a sack.
Height, and the circumference people forget
Measure from the table to the top of the lid, then again to the top of the knob. The first tells you how tall the body needs to be; the second tells you whether you need a knob hole, a button loop or an opening in the crown.
Two details separate a cosy that stays put from one that wanders. The hem should land level with the base — low enough to cover the body, high enough not to sit in a puddle of tea. And measure the top circumference as well as the widest one. A pot that narrows sharply towards the lid will let a straight-sided cosy slide down until it bunches at the shoulder, leaving the lid bare.
Spout clearance and handle gaps
The spout is where most homemade cosies fail, because it's the one part that isn't symmetrical. Measure three things:
- The height of the spout tip above the table.
- The distance from the side of the body out to the tip.
- The diameter of the spout where the cosy's edge will cross it.
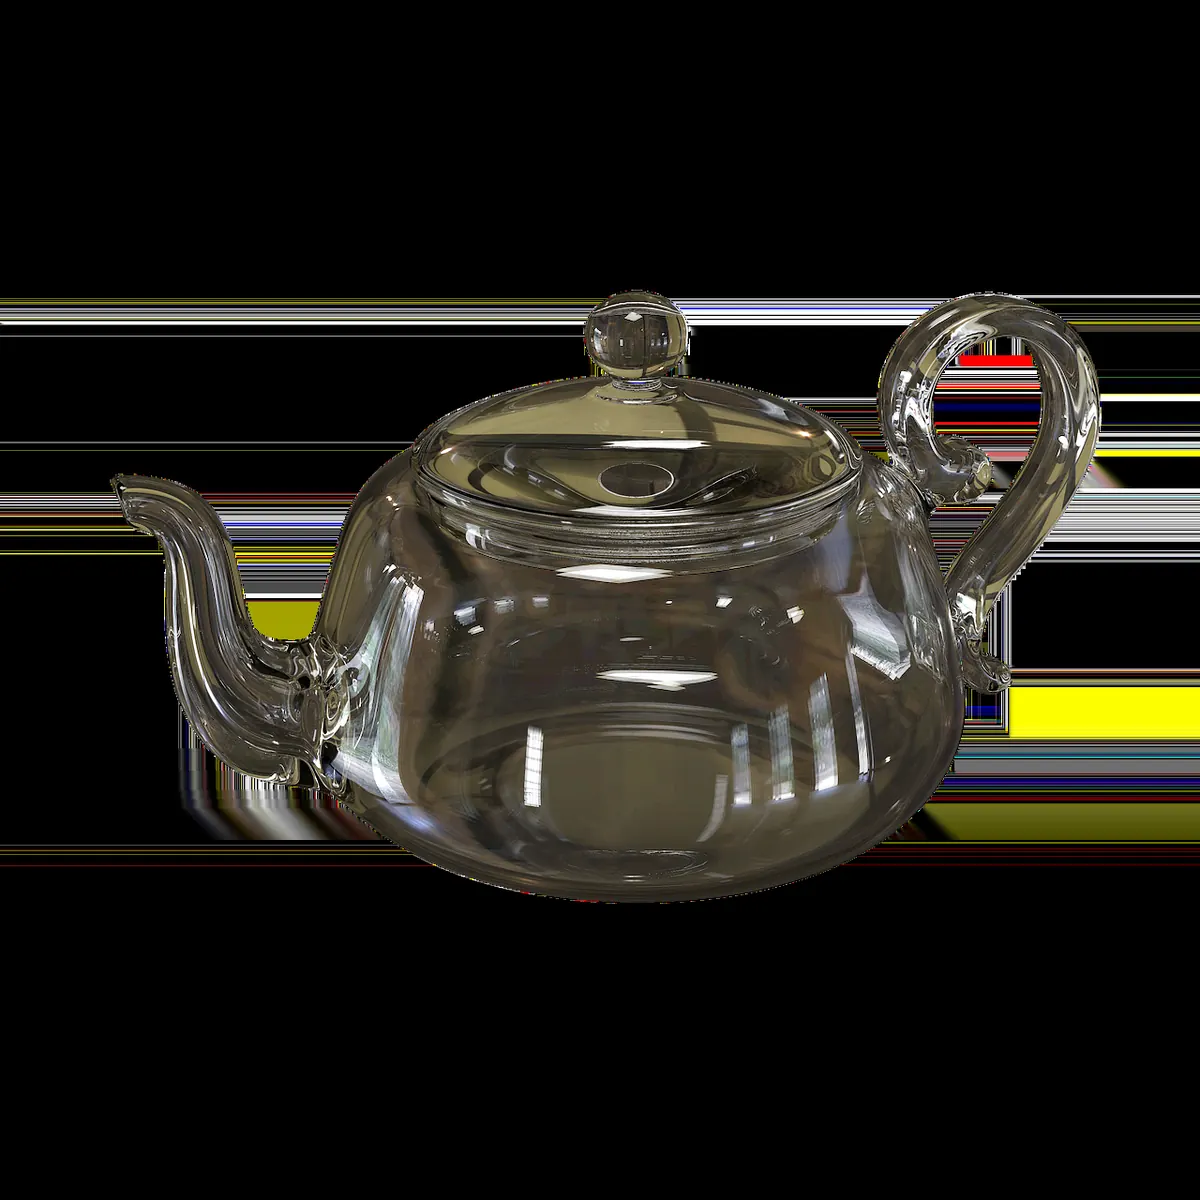
An opening slightly larger than the spout is fine; one that's smaller will pinch. A cosy that rests on the spout gets lifted at that corner, opening a gap at the base where heat drains away. For a low, short spout that emerges close to the body — the classic brown betty shape — a vertical slit from the hem upward does the job. For a tall upright spout, a round hole matched to your measurements is tidier.
For the handle, measure the gap between handle and body, and the height from the table to the underside of the loop. A round hole works when the handle stands clear of the pot. When it attaches low and close, a slit is easier to align and less likely to sit crooked.
Test it in paper first
- Cut a strip of newspaper to your circumference plus ease, and to your measured height.
- Wrap it around the pot, lid on, and tape or pin it closed.
- While it's in place, mark the spout and handle positions on the paper with a pencil.
- Slide
Photo: Pixabay / Pexels